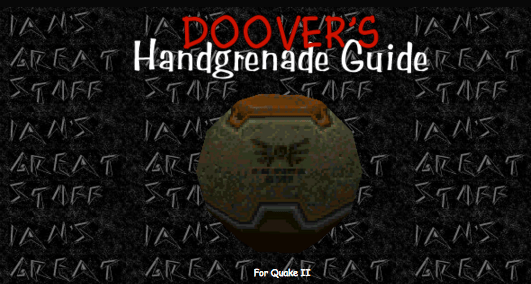
“Everyone says how you use a rail gun properly, and the famous BFG triangle of death tutorials, but no-one ever pays such a hand sized, ball of TNT its dues. . . well, I do!” – T.Doover
The Basics
As with everything, there is no point in trying to run before you can walk. Firstly you must have a good knowledge of the basic dynamics of handgrenades. First off, is the timing, the grenades explode after 4 seconds, easier still is to listen to the auidble clicks, they explode ON the fourth click, that is you just hear it click its fourth time, then boom. Besides keeping your hands on the end of your arms where they should be, the max time is also useful to know to do tricks such as grenade jumps.
Another point to note, the longer you hold the grenade, the higher the launch velocity will be, after 2 clicks the grenade should be good to go (or good to throw…) as such, remember the longer you hold the shorter the fuse, so whilst it will move quicker, thus theoretically covering more ground, it will explode earlier also so it can’t be propelled any further after you get to the 2 click mark, before then, the grenades will barely be thrown at a pace to keep them airborne, thus will not at all aid long distance throwing.
What goes up must come down, gravity sometimes never helps does it?! Or does it… Being the king of the hill with handgrenades is often useful, it means you can get a futher distance with the grenade (fuse allowing) and obivously this improves the velocity somewhat, not only is this good to deliver your message quicker, but will also mean bounces are exxagerated, and will go higher etc. Sometimes its not possible to get highground, you can always give the throw extra length by jumping just as you throw…
“CATCH!!!”

The Frags
The Standard Frag; “The poor man’s weapon”
Usage: Plain and simple, to kill ’em!
How: Pretty simple really, hold your explosive tempered friend around the collar, twist and pull, hold the hand grenade for 2-3 clicks (depending on range) then let her fly, aimed directly at your enemy. Of course, like anything it has travel so you may need to aim the direction they are heading.
The Over the Shoulder Frag; “Up and over!”
Usage: Best usage is to slow or stop pursuiers, as the name suggests, you’d need to be lucky to actually kill someone, but its likely to either wound them, or make them wait for it to detonate to continue their pursuit of you.
How: Similar to the standard frag, hold the hand grenade until until the second or third click, then look up directly vertical, release and just see where it lands.
The Land Mine Frag; “They’ll never know what hit them…or severed both legs…”
Usage: Much the same as the over the shoulder for luck frag, to slow or stop pursuiers, of course the differnce is it will land slightly ahead of you, so you run over it first, its quite useful if someone is quite close in pursuit, as indeed pursuiters don’t often notice its been released until they are already standing on it!
How: Instead of using it like a poor man’s projectile weapon, why not just tip one on to the ground (release ASAP; arm and release), when the fourth click goes, anyone close by’s time is up!
The Artillery Frag; “Obstruction? Between you and your next frag? Throw a handgrenade up and over…… gravity will do the rest”
Usage: In a nutshell, indirect fire is what grenades do best, sometimes an enemy will dive for cover behind a crate, or perhaps you’ll find yourself dug in behind an obstacticle, either way, a simple grenade can often work wonders.
How: Simple, throw the grenade at an angle to cause it to arc quite heavily, gravity will bring it down hopefully after the obstruction, and onto your opponents lap! The time you hold the grenade will all depend completely upon what you are throwing over, usually sometime after 1 click….
The Ricocheted Frag; “Ting, tick, BOOM!”
Usage: Sometimes you have a very tough direct angle to hit someone directly, or perhaps they dodge things thrown directly at them, why not use a nearby wall to bounce a indirect grenade right on button.
How: Hold for around 2 clicks, then release at an angle away from the enemy, to bounce of a nearby piece of scenery, walls usually work best, the grenade should bounce quite violently off the wall (hence the 2 click or more hold), and if projected right can well end up in your enemies lap. Remember it will ricochet inversely to the angle you threw it at, but in the other direction, so a very steep angle will see the grenade skim past your own side! Equally there is no reason why you can propell the grenade higher at wall so it goes up quite slowly, but comes down at a higher pace.
The Depth charge Frag; “Its easy to be railed in water, so why not just not bother getting in…”
Usage: An excellent way of getting people lurking below the suface, either do dive out, or take them to a watery grave. Or better still when there are a few people in the water trying to kill each other, so why not intervene indirectly, and get the pair!
How: Very simple, tip them in like you would drop a line mine frag, or perhaps give them a little power so they come down at an angle in the water. All dependning upon the amount of water.
The Dam Busters Frag; “this one doesn’t have anything to do with water like the name suggests.. but you may get the odd “DAMN!””
Usage: Often useful to catch an enemy off guard, as they expect a grenade throw in the air, one comes skidding arcross the floor.
How: Remember back to the Ricocheted frag, only this time bare in mind, the floor makes the grenades bounce just as well as the walls do. Of course the net benefit of this, is done right, the grenade ‘skids’ forward much faster than if it were thrown, so getting longer distance, with higher velocity, much more like a gun.
The Cornerstone Frag; “Okay, okay, so its a crap name, but it works!”
Usage: Similiar to the Artillery Frag in purpose, except obiously, its goes around a corner, rather than over an object, but again there is no line of sight, so a certain element of luck is always involved, however sometimes in certain situatuions some times its an invaluable ally to have, i.e when you chase someone into a dead end, alls thats between you and them is a corner…. and they unwittingly think there “safe” with that rail giu pointing at the entrance….
How: Again similar to the ricochet; hyper blasters, rocket launchers and rail guns are all damn fine weapons, but they will never fire around a corner in a million years, bounce the grenade on the outside wall of the corner, and watch as the gibs come flying. As for hold time etc, read Richocheted Frag.
The King of the Hill Frag; “No king is invincible…”
Usage: Again, indirect fire, and using it to your advantage when someone with what seems to them an advantageous position, i.e sat upon a ledge with a railgun, waiting for you to come away from the incline…. then you throw them an uninvited guest.
How: Identicle to the the over the shoulder frag, however the intended target is above AND behind, rather than just the latter. Execution is indenticle, except you need to bare one factor in mind; if you intend to throw it onto a ledge much higher than your height and a half, you’ll need to step away from it slightly to avoid it coming into contact with the incline up to the ledge (which will most likely drop it back in front of you).
The Airburst Frag; “No matter how good a dodge, a good throw will always hit…”
Usage: Great for enemies who dodge all kinds of direct fire effectively, the mid air splash will prove somewhat tricky to avoid, even the biggest of boulders can be whittled down into a small pebel. Of course, its all so possible “push” them off a ledge, to somewhere they’d rather not be…
How: Timing is the key to this one, you need to predict the distance/time and release the grenade accordingly, usually a slightly longer hold than a standard kill, so it “pops” just before it arrives, this obviously does much less damage, but used carefully for can make use of the whole blast area doing damage to more targets than a direct frag. Most importantly, it also has a larger “push” effect causing some deviation of your enemy, whist the grenade may only wound….. perhaps they’ll go for an ealry lava bath… or maybe plummit to their messy fate against a real hard place…. commonly known as the floor…
The Weenie Popper Frag; “Weenies arnt the only causaulty to this one, but they certianly are the most common ‘pops'”
Usage: Plain and simple, let someone else do the work, then finish the lot off with a single grenade, great for busy maps with no weapon stay…
How: Simple either do an airburst frag in the middle of some other player’s combat, or toss a grenade with a click or two on the clock, on the floor nearby there melee, either way, timed right, you can rack up frags without the need to engage into a serveral player skirmish…. of course.. its no good when the enemy are all healthy!
The Kamikazi Frag; …
Usage: There is always a way of going out with a bang, holding lumps of explosives, it happens more often than not, when you are down to minimal health, and perhaps a single grenade it is often worth to go down in a blaze of glory. Some times tactical targets, especially in teamDM or CTF are worth dying for just to take them down too, such as quadded opponents….
How: Hold that grenade tight and don’t let go, now go hug your attacker whilst you are at it…. your both on one fast train to fragdom…. of course… the variant being when you have the invulnerability, you get close and personal allowing your grenade to explode, killing them but not you. At the end of the day the kamikazi frag is to make sure you at LEAST cause some damage before going down, with good throwing this shouldn’t be nessary, but sometimes the situation permits…..
The Cowardly Kamikazi Frag; “A sorta cake and eat it scenario going on here….”
Usage: Some times you have trouble hitting, evasive enemy, much like the Kamikazi the idea is to take the enemy down primarly, except one thing… you let go at the last moment!
How: Easy, just prime a grenade, get very close, or even point blank and throw, if your lucky you’ll live to fight another day….. if your luckier still, you kill the enemy whilst your at it!
Example Angles for a Cornerstone Frag


The Tricks
The Grenade Jump; Much harder than the rocket equivalent, lay a grenade down, like a landmine, then stand on it, and hit the jump as the fourth click sounds; the perfect trampoline at a pinch.
The Grenade Assisted Rocket Jump; Ledge to high to jump too with a rocket or grenade alone? Couple the two techniques, and you’ll fly higher than an eagle… just remember to stock up on health!
The “Fire in the Hole!” Trick; Enemy digs himself in ready for a fight, gonna be trouble right? Hell no , why not just throw ’em a ‘lil toy to get them out again?
The Flashbang Trick; Need a distraction to get into a room? How about rolling one of these in, and charge in after its explodes, with guns blazing. . .
Doover’s Tips
1> On a busy level, always have a handgrenade ticking in your hand if you don’t have anything better, on tick 2-3 release and throw around the corner, down a lift, which ever seems most appropriate, keep doing this, eventually the benefits will be obvious; you will be better prepared when you run into an enemy, since you will have a grenade at least semi-primed as opposed to requiring to be totally primed, and of course the grenades which just get lobbed away, can always be an opportunist killer, just landing in someone’s lap who you didn’t even know was there. Of course being so numerous in supply on most levels, you can “waste” the handgrenades in this way for the entire map if needs be.
2> Remember grenades on tick 3 times, numero 4 it goes bang!
3> At the end of the day they can never be a replacement for conventional weaponry, but can be used as a more than worthy companion or of course…. in a tight spot! Grenades have there place just like every other gun, some situations grenades can be a more worthy weapon than any other…
4> Once you have primed a grenade and it CAN be thrown at any time, if you are killed during this time, before you throw, you’ll explode, as if the grenade had been detonated had been held to long, use this to your advantage!
[EED] The Doover
https://web.archive.org/web/20000817085135/http://www.ians.u-net.com/hgguide.htm
Quake II Deathmatching for Dummies by The Doover


https://web.archive.org/web/20010308164555/http://www.ians.u-net.com:80/q2guide.htm
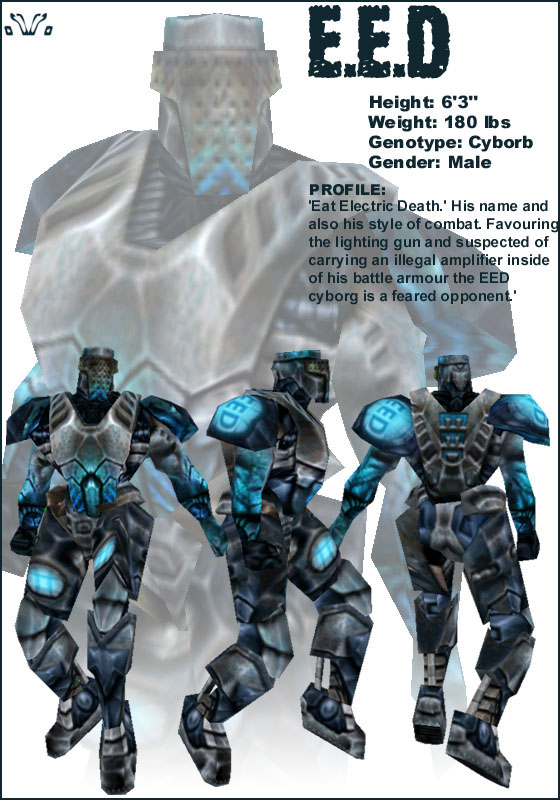
Okay, so I’d guess you are here to see about me and my Quaking exploits……. as the title suggests my alias is The Doover, the name inspired from the classic computer adaption of the boardgame of Bloodbowl, you’ll find even my ICQ nickname is the same (otherwise fellow Quakers get confused!). I play a good deal of Quake 2, alas less on public servers, but heaps of clan games, playing for the mighty EED (EAT ELECTRIC DEATH), which the name was inspired by the classic Tempest 2000, don’t ask….. because you probably don’t really want to know! That fixture is unlikely to change for a long time to come, unless the clan splits of course, but I’d say we know each other too well to completely ever split, or I get paid absurd amounts of money to play for another, either way it looks damn unlikely I’ll join anyone else……
As I was saying, I play for EED, whilst I don’t claim to be the world’s greatest Quaker, I do consider myself worthy to bring you my handgrenade guide, with statistics of 18 handgrenade kills in one 20 minute clan game, I can’t be doing it all wrong?! Check that out here, another guide I have produced is Quake 2 for Dummies, by popular demand, check that out here, (just when you thought I couldn’t plug anything more eh kids?). Anyways, you’ll find me most likely to be on the following servers: Alchemy U-net, 195.102.240.249:27910, Reaper’s Palace, 193.130.85.70:27910. And of course, you’ll most likely see me playing for EED from time to time in clan matches.
https://web.archive.org/web/20010308164659/http://www.ians.u-net.com:80/quakeii.htm
Eat Electric Death Clan

Welcome to the home of infamous aging online gaming clan EAT ELECTRIC DEATH! Clan [EED] was founded in 1998, and back in the ‘good old days’ we used to actually play online multiplayer games and be quite good at them – with achievements that include climbing to Division 1 of the now defunct UKCCL. We get asked about the name ‘Electric Death’ a lot. It sounds a bit juvenile but actually it’s a big shout out to our mascot, mentor and God: Jeff Minter.


https://web.archive.org/web/20050223194137/http://www.electricdeath.com/page/15
Rorshach’s Eat Electric Death Clan Skin