

QuakeRant: Why I Hate “The Edge” by Andrew R. Southwick
Why I Hate “The Edge” (q2dm1)
Points of Argument
Easy to control — the RL has only one access point, grenades suck, the chaingun is in a severely weak position, and the grenade-launcher platform commands almost all of the other weapons.
The railgun–the single back-side weapon– is very hard to grab and get away with. It’s access is difficult, makes a giveaway sound (going into or climbing out of the water), and once back out of the water you are in the clear open, on the ground, waiting for your enemy to paste you.
Very little armor, meaning a single railgun hit will either kill you or leave you with maybe a dozen points of life. All of the weapons are deadly, and without armor, you’re very easy to kill.
All of the armor, and the 100+, are in very close proximity. This is also near the GL ledge, meaning that control of the weapons also gives you control of the armor.
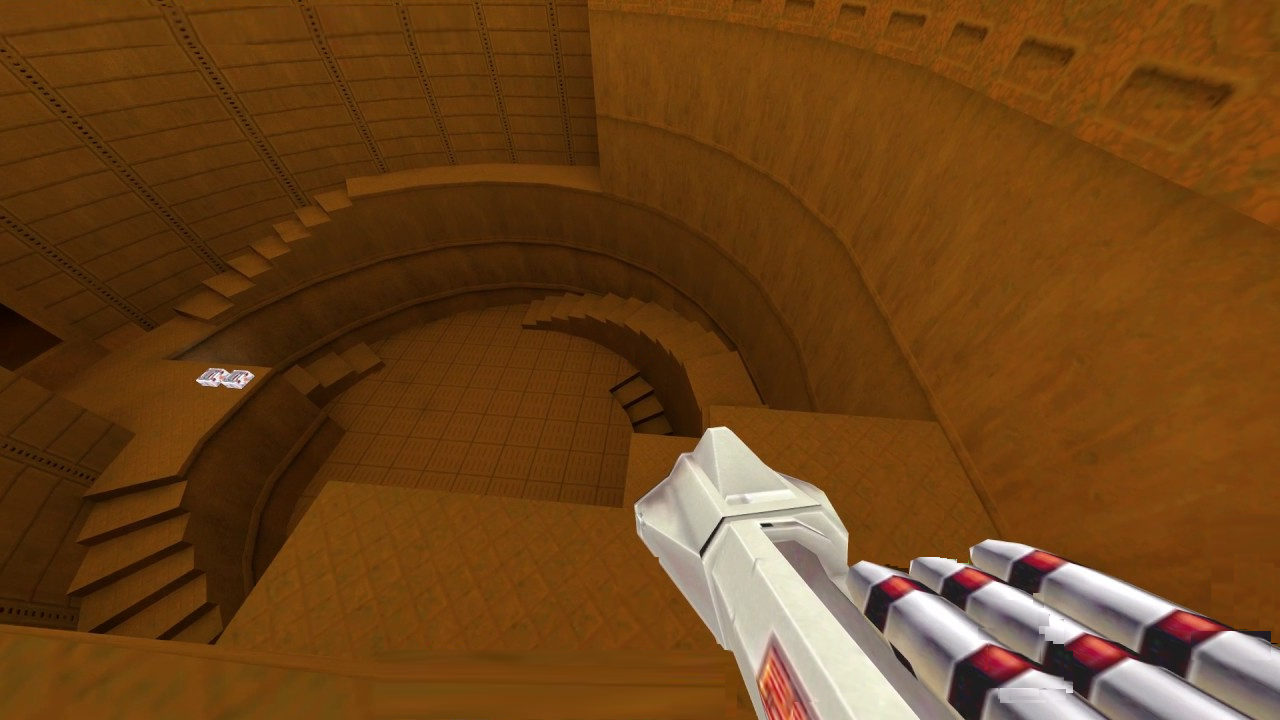
Compounding the above problems, the level is large and open. There’s no sneaky side passages, protected tunnels to go through for a weapon, or convenient places to hide. You *have* to brave the open areas to get a weapon or some armor. If your enemy has control, you are in an even weaker position: there’s no-where to go.
You make noise everywhere you go. Want the RL? Either drop down two flights and make a very distinctive thud, or try to sneak across the open areas or the center of control. Want the railgun? Jump into the only deep pool of water and out again. Want the chaingun? If you’re lucky enough to make it there without being spotted or heard, you have the option of picking up only a small bit of ammo, or giving your position away (to an enemy probably very near) by picking it all up.
Lessons to Learn
The back-side weapon should be easy to get to. The top three Quake 1×1 levels all had easy access to a second RL. Although there are two RLs on The Edge, both can be controlled from the same chokepoint, and the Railgun is in a very weak, undefendable location.
Open levels are for railgun whores. If you make an open level, remember the dead guy; give him a chance to come back.
Are all the major weapons near each other? You might think you’re smart by allowing the “skilled” player to control them, but all you’ve really done is let the guy who wins the first firefight take over the entire level.
OK, so you’re gonna go ahead and put all of the major weapons right next to each other. What reason does the guy in control have to take a risk and leave that position? Gotta move the ammo and armor. Don’t place the weapons, ammo, health, and armor all in the same place. On The Edge, from the GL platform you have access to: all three armors, 65 points of health (including the 20 back by the top RL), the backpack, the megahealth, the chaingun, both RLs, the grenade launcher, one machinegun, the single-barrel shotgun, grenades, and bullets. What does the other guy have access to? The second machinegun, seven packs of bullets, an out-in-the-open set of health and rockets, an indefensible railgun, one of two sets of slugs on the level, 20 points of health (not including the 75 out in the open, by the rocket pool), and a scattering of stimpaks and armor shards. And, oh yeah, the DBSG (for effective use on this large, open map–NOT).
OK, so you’re going to give the guy in control everything–armor, ammo, health, weapons, and powerups. The dead guy gets a wimpy weapon in an easily tagged location (the machinegun in the underground tunnel), plus a railgun. Here’s a hint: make the railgun easy to get to, protected, quiet, and elevated. Make at least two exits from the railgun’s resting place. Don’t place it behind a distinctive sound barrier–like an underwater passageway. Don’t enclose it in a dead-end room. Don’t make the exit exposed to concentrated, elevated fire from positions with an easy retreat.
Watch the Demos
The players who win snipe with the RG. They have excellent rocket aim. They get control and they keep it–not because of their skills, but most often because the underdog cannot get a decent weapon.
The RL has been “neutered” by slow rockets (since fixed) and a limited blast radius. The limited blast radius seriously limits the power of the rocket launcher, especially in the hands of a newbie. But it also winds up making it MUCH more powerful in the hands of someone with good aim, to the point that good aim decides a rocket battle. Have armor? Good at prediction shots? Those are nice, but without aim, they’re useless.
The RG has also been “neutered” by it’s complete lack of splash or spread. However, just like the RL, this means that it’s only useful in the hands of someone with good aim.
Chaingun? Good cylic rate means it is effective at any range. Deadly close up (as long as you can keep a bead), and just as deadly at long range (since a bead is much easier to keep).
So, all the weapons are powerful, but the deciding factor in demos is aim–not prediction shots, not odds shots, not tricks or tactics or strategy. Keeping control isn’t a matter of watching your territory, guarding it well, and knowing where your opponent is. The YA/100+ is the obvious center of the map: armor, ammo, weapons, health, and access to all of the weapons. It doesn’t take a genious to figure that out.
What Went Wrong
The weapons are spread out–but only physically, not in logical space. Most of the health is either out in the open, or on one side of the map. All of the armor is grouped together (from a field-of-fire point of view). All of the weapons are grouped together. The railgun is hard to get to (a good thing)–but it’s the backside weapon. The backside weapon is hard to get to (a very bad thing). The level is open, but the center-point of the level is very well concealed.
Suggestions
OK, so you’re gonna make an open level. Place weapons out in the open, or far away from each other.
Don’t place wimpy weapons (like the shotgun) in highly-exposed locations.
The powerful weapons should be in out-of-the-way locations, but make sure that they aren’t all together.
If there’s only one exit from a powerful weapon, provide some cover. Nothing sucks more than trying to get a big weapon, only to be quickly trapped. The railgun and the lower RL are both extremely hard to acquire. The upper RL is hard to get to–unless you are lucky enough to spawn up there. The chaingun is in a “kill zone.” If all the powerful weapons are hard to acquire, you’ve sealed the game up for control by a single player. Leave one in an easy-to-get-to location, and make sure it’s far away from any control point and the other weapons.
I take that back. Don’t put most of the weapons in hard-to-get-to locations–put them out in the open. The RLs on (q1) dm6 were very easy to get to. One RL on each of dm2 and dm4 were out in the open. On all three, the two RLs were far apart from each other, and although the approach might have been hard or long, they were relatively protected. The lower RL on dm4 is often cited as bad design: it’s locked in, and most games on that map have relatively long stalemates in which one player is trapped down there and the other has the run of the level. And yet such design is the essence of q2dm1. This isn’t fun, exciting, or skillful play. It takes a lot of skill to escape, but very little skill to control. Don’t give easy control to unskilled players; you want to provide a chance for players to learn and exhibit deep skills.
Move health and ammo far away from their weapons. If you have control, you have to leave the weapons to stock up. However, don’t go so far as to place the ammo way far away, like the two rocket packs above the pool. There’s no reason to go out there, and it’s a horrible kill-zone.
Don’t place the power shield, bandolier, or ammopack. These items give the winner more strength, and do very little for the underdog.
Place red armor on the backside of the map. This helps the underdog, and keeps the controlling player circulating.
Move armor away from health and ammo. Again, this causes circulation. If nothing else, make sure health is far away from armor, ammo, and weapons. If the controlling player is injured, he has to leave armor and weapons for the other player. This lets the competition resume. It’s more tense, exciting, and fun.
What I’m Looking For
The ultimate in helping the underdog is deathmatch mode 2. Armor, ammo, and health did not respawn, and weapons stayed. If you wore your enemy down, he’d die–usually sooner rather than later. It’s impossible to keep stocked up, so the object is to get shots off without taking any damage yourself. The Edge sits on the other end of the spectrum. Standard Quake matches sit between these two ends.
Mode 2 is kinda lame because, no matter how well you play, you’ll always get hurt by cheap shots, and there’s nothing to control in the level. It’s just a playspace with weapons; most tactics and strategy are eliminated when there’s no option to recover from a hard fight. Scores reflect how much damage you can do, not your ability to control a level or to keep hard enough on your enemy to kill him.
The Edge is likewise, in that a hard fight means that you are dead. If you did survive a railgun hit, it’s next to impossible to gather enough health and armor to survive another. If you have control, it’s very easy to restock on armor, health, and ammo.
Quake was fun because the game was always a give-and-take. Having control meant an edge, but often just a 50 or 100 point edge. rarely it was 200 points (red armor vs. no armor), and very rarely it was 300 (red armor + megahealth vs. no armor). The defensive player on most Quake 1 maps could often get close to the firepower of the controlling player, and very often could get armor. This meant the controlling player had to continue to play sharp, while the underdog had to fight hard and press the attack.
Even on (q1) dm3, often cited for its “imbalance,” the back-side of the map had a decent weapon, the red armor, a 100+, and a good supply of ammo and health. You could dive into the pool without exposing yourself for a long time, and hide underwater waiting for a weapon respawn.
edge.html (Rants), created 98/09/04, last modified on 98/09/15
© Copyright 1998 by Andrew R. Southwick. All rights reserved.https://web.archive.org/web/19990901041313/http://www.quakerant.com:80/rants/edge.html
