

Kold Sky Boxes
Stars

This is my very first sky for Quake 2 , its a sunset in the desert with little life but shrub’s and small wildlife like lizard’s , not the kind of place you would want to setup camp . A very ! big thanks to “The Mighty Pete” for getting me started with making skies , i could never have got this far without someone that generous to lend another Quaker a hand , thanks Pete :o) here’s links to both his home website and the wadfather which has load’s of env’s and gfx for game developer’s .
Fire
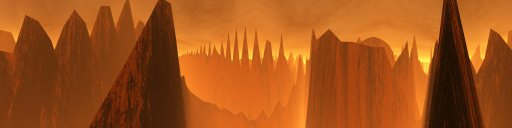
With scorching hot lava and with a crater that goes way over your head , there’s no escaping this intense heat and hot sun from above.
Night

A few people asked for a few night time skies , Funny enough i was walking down the street one night and i walked past a pile of dirt that was sort of mixed with a rocky like clay and it was a full moon that night , so here’s that pile of dirt for ya :)
Pure
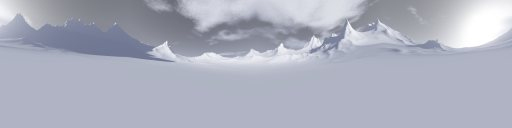
I’ve always loved the mountains , the snow , everybody loves snow :) . This is set in the southern alps , a dangerous set of mountains with jagged peaks .. one slip and you’ll find yourself 8000m below :)
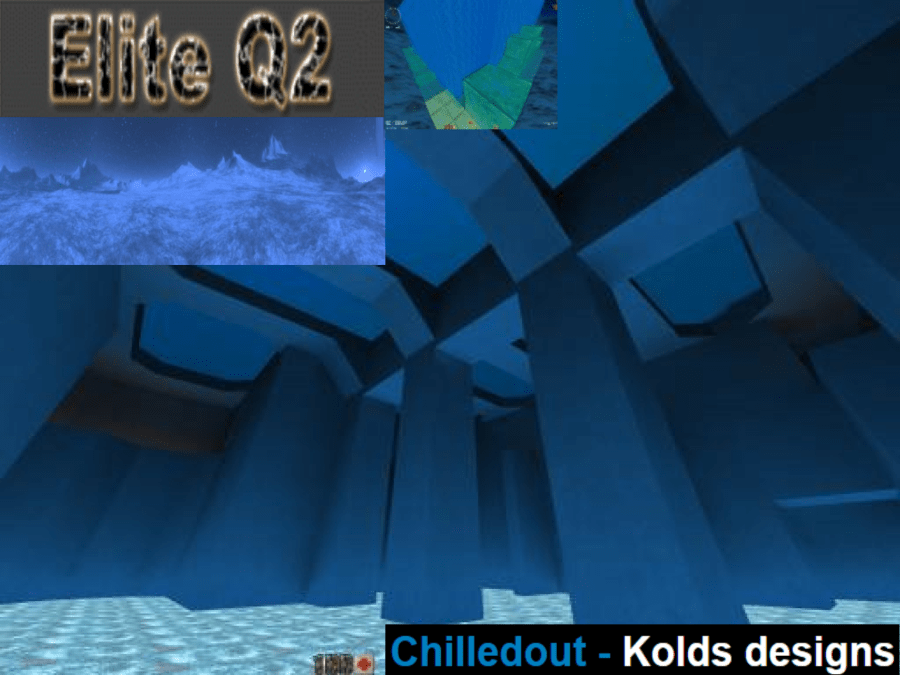
Kold Custom Quake 2 Maps
Kldsjump1
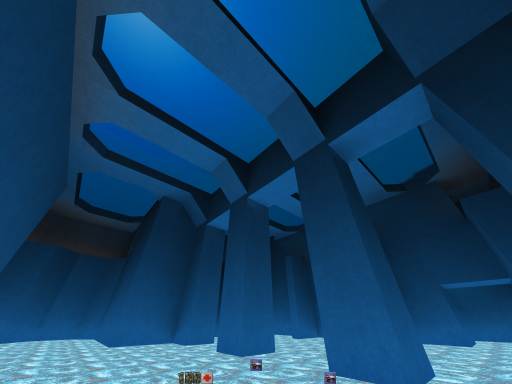


Due to heaps of testing (thanks Funked & Hannibal) i decided to redesign this latest map by adding alot more detail/ retexture and add sounds , this map will be released as kldsjump3 , while in the mean time im going to finish a unfinished map for kldsjump1.
Kldsjump2 & kldsjump2a


Both these maps are the same , only difference is kldsjump2a has a extended part added as you can see from the first image.Both maps together took 5 days to build and are both speed maps with easy jumps for the average jumper’s.
Kold News


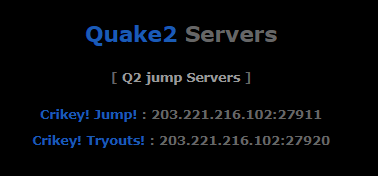
Kold Servers


Kold Tutorial: Making rain in Quake 2

Step 1 : Make a small room
Firstly make a small room as shown above , then add a info_player_start in there along with some light fixtures to give us some light . I’m using Quarks default room for this tutorial , so some of it should already be done for you.
Next we will add the rain texture into the map you have just created , in the screenshot in step 1 there’s a opening in the roof , make one brush to fit between the floor and the sky as shown in the above image.
Step 2 : Adding the rain texture
Next , rotate the above texture if it isn’t facing the right way to look like the image above , the flag setting’s should already be set with the texture but if they aren’t , add the following to each face mist ,current_dn , trans33 and flowing . Important : Sometimes your rain may be flowing upwards ;O) , if it is then just rotate the texture on that certain face in till it starts flowing the right way .
Next , copy the brush you just made into 5 copy’s , randomly move them around the gap in your roof as shown in the above image , this gives the rain a better look in game otherwise it looks a little too square. there’s different ways you can tweak the affect I’ve just shown you like stretching the rain texture a little longer to give it a faster looking affect in game . The result !
The finished result
Summary I hope you enjoyed this tutorial and even if there isn’t a true way to make rain in Quake 2 , this is probably the closest you’ll get without a engine mod. i’ll look forward to making more tutorials in the future but in till then , go make yourself some rain ! Contact me if you need any help with this tutorial.
https://web.archive.org/web/20041204025140/http://www.chilledout.net/tutorial1.htm
About Kold


“hello my name is Chris Stinger, kold, or xc.kold. i come from little place in the world called New zealand :) i currently have a good job working at a freezing works which processes lamb and mutton. I’m only 18 years of age which means i have many years ahead of me in the gaming community and my hobbies outside of the computer world. although i don’t do rock climbing myself, i do crazy stuff like climbing (running) up 1400m high mountains which probably isn’t that high to some but still very fun at the age of 18… [and i make maps for Quake 2 jump mod.]”
