

Croatian Quake 2 Clan: Awesome

Awesome members listed by alphabetical order:
| [8.ahriman] – info |
| [8.dado] – info |
| [8.faithless] – info |
| [8.frenzy] – info |
| [8.loopy] – info |
| [8.majky] – info |
| [8.maxis] – info |
| [8.max damage] – info |
| [8.urane] – info |
| [8.virus] – info |
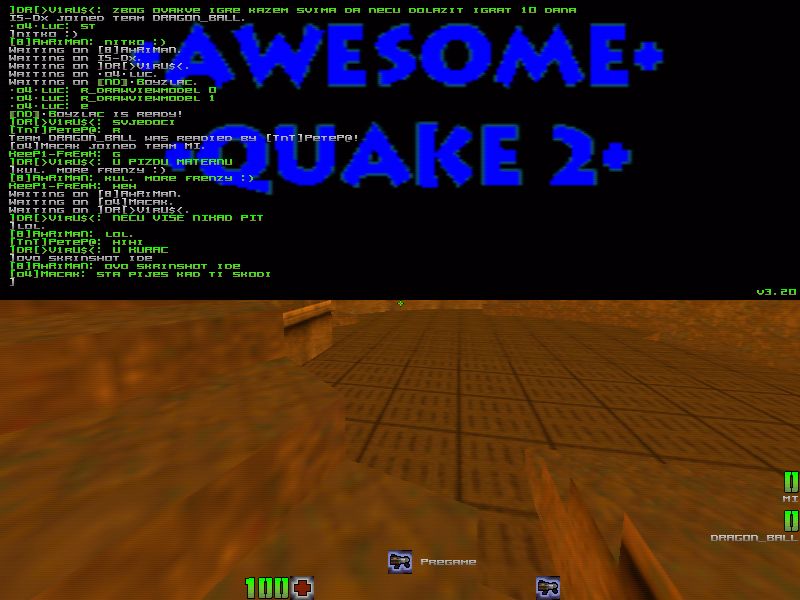
Awesome Screenshots:


Awesome Utilities:


Awesome Tweaks:
:: GeForce MX/256/GTS Tweak Guide
:: Part I
__________________________________________________________________________________

  1. Optimizing BIOS for GeForce based cards
  2. Flashing the card's BIOS
  3. Installing the new drivers
  4. Tweaking drivers and  overclocking the card

__________________________________________________________________________________

:: Optimizing BIOS for GeForce based cards

Power up you're computer ( or restart ), and when U see you're CPU, RAM, MBO info on monitor press DEL to
enter the BIOS. ( On some systems it's F1 or other key - check you're MBO Manual for details )

Go to BIOS FEATURES SETUP and set following items like this;

PCI/VGA Pallete Snoop        - Disabled
Assing IRQ for VGA             - Enabled
Video BIOS Shadowing        - Disabled
Shadowing Address Ranged - Disabled

step 2. go to CHIPSET FEATURES SETUP

Video BIOS Cacheable         - Disabeld
Video RAM Cacheable         - Disabeld
AGP Aperature size             - 128MB
AGP 4X Mode                     - Enabled
AGP 2X Mode                     - Enabled
AGP Master 1WS Read        - Enabled
AGP Master 1WS Write       - Enabled
AGP Driving Control            - Enabled
AGP Driving Value              - EA ( hex [ 234 dec ] )

step 3. go to INTEGRATED PERIPHERALS if you didn't find "Assing IRQ for VGA" option in first step and
change it here.

*Note that you're motherboard's BIOS may not have all this options available
**You may use only one AGP speed at the time ( 2X or 4X )
***AGP Aperatire size set to 128MB only if U have 128MB or more system RAM, otherwise keep it at 64MB

:: Flashing the card's BIOS

First make sure wich model of GeForce card you own, and download the CORRECT BIOS file;

GeForce 256
GeForce 256 DDR
GeForce 2 MX
GeForce 2 MX 200
GeForce 2 MX 400
GeForce 2 GTS
GeForce 2 Pro
GeForce 2 Ultra

*Note that this all are generic NVidia bioses

Now download NVFLASH wich U will use to flash the card

NVFlash

Save all the files in directory that is easy accesed from MSDOS ( like C:\VGABIOS ), now restart the computer
 and press F8 while you see the windows bootup message ( Starting WindowsXX ), choose  Safe mode and
 command prompt only. Go to directory where U have saved new BIOS files and type;   nvflash -fBIOSNAME.ROM
or to see additional options type just nvflash.

*Note that You are fully responsibility for anything that happens. (eg. if You have downloadet incorrect BIOS )

Now restart you're computer and bootup normally into Windows.

:: Installing the new drivers

Download the Detonator4 10.80 Unofficial drivers

Download Detonator4

Extract them, and then go to Control Panel/System/Device Manager/Display Adapters/ now double click on youre
 display card and go to Driver/Update Driver/ , click Next , select Display the list of all drivers in specific location, click
 Next and browse to drivers location, now just confirm all the way that you want to use this drivers :)

*Note that if Windows ask you do you want to keep newer file that you already have installed just press No
( few times may be required )

Now restart you're computer.

Go to Display propertis/Settings/Advanced and click on you're display card ( eg. GeForce 2 Ultra ), Click on
Additional propertis.
Now set the Color Correction that you preffer. I recommed to turn on Digital Vibrance control
 ( N/A at GeForce 256/DDR cards )
Click Ok , and go to Output Device/Device Settings/Display Timing/ and select GTF , confirm all and restart Windows.

Download and install right drivers for you're monitor.
Download and install DirectX 8.0a
Download NVMax

DirectX8.0a
NVMax

:: Tweaking drivers and  overclocking the card

Now you have installed all the stuff you basicaly need for normal life with you're card.
Fire up NVMax and go to;

System/AGP Services
Set you're AGP speed according to you're system
Turn on FastWrites if you're system supports it
Turn on Sideband addresing
Turn on VIA Motherboard 4X AGP Mode if you're mobo have VIA Chipset
Turn on AMD Irongate SideBand addressing if you have mobo with Irongate chipset.

System/Miscellanous
Check first setting if you have AMD processor and W2k installed.
Check Intel Compatibility if you're having problems on you're INTEL/GeForce system
IO to Flush cache if you're mobo have ALi chipset and you're having problems with system stability.

System Overclocking
Mark -=> Enabeld and Load at Windows startup

For Core and Memory speed you must find you're own values that works best on you're system
( of course - higher values give more speed =)

For example I know from my expirience that with GeForce 2 MX ( 175/166 ) U can go at 200/200 without
any additional cooling, and card will give around 20 - 40 more FPS in Quake2  ( depends on a system )
Remember - Overclocking is the best "tweak" for VGA card.

OpenGL
Anisotropy          - OFF
Anti Aliasing       - OFF
Buffer Flipping    - Page Flipping

Miscellanous  - Mark the following options
 Buf Reg Use Vid Memory
 Buffer Region Extension
 DXT3 Compression
 Fast Pixel Copying
 Fast MipMap Filtering
 Force Multi-Texture
 GeForce Accel Lines
 Single Back Depth Buffer
 Texture Pre-cache
 Triple Buffering

Texture Color Depth - Use 16Bit color depth

Texture Quality        - Move slider all the way to left ( LOW/SPEED )

V-Sync
Always off
Render upto 05 Frames ahead

DirectX
Anisotropy          - OFF
Anti Aliasing       - OFF
LOD Bias Adjust  - Move slider all the way to right ( Value 2 )
MipMap Levels    - 0

Miscellanous  - Mark the following options
DirectX VA - Video Acceleration
Enable Texture Compression

V-Sync              -  Off
Render upto 03 Frames ahead

W-Buffer           - Disable W-Buffer

Close the program.

Download HzTool.

HzTool

Fire it up and set the refresh rates to the maximum that monitor supports. Save all settings and restart Windows.

Enjoy in speed =)

By Maxis


https://web.archive.org/web/20020603145231/http://awesome.gamenet.hr:80/index.shtml
